Garmin Gsc 10 Wireless Speed Cadence Sensor Battery

Garmin Gsc 10 Speed Cadence Sensor Edge Forerunner 305 Garmin Gsc 10 Speed Cadence Sensor Edge By Garmin 38 98 Monitor Your Gps Units Garmin Geek Stuff

Garmin Speed Cadence Bike Sensor Gsc 10 F Edge Forerunner Etrex 30 Foretrex 401 Gpsmap Boat Parts For Less Garmin Sensor Mountain Equipment Co Op

Edge 510 Replacing The Gsc 10 Battery
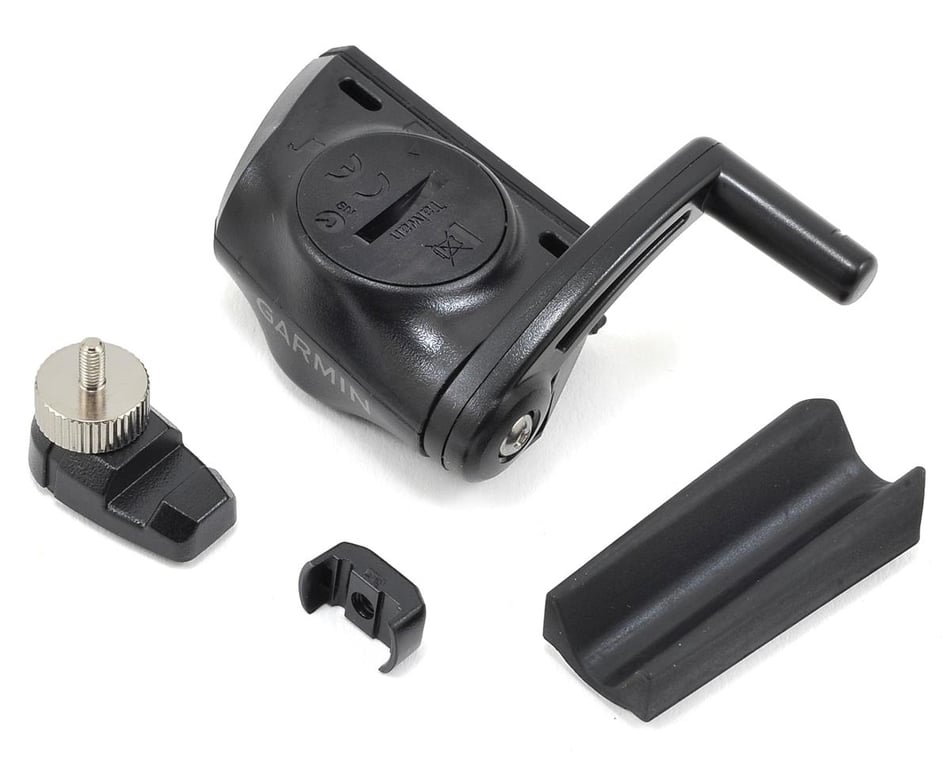
Garmin Gsc10 Speed Cadence Sensor 010 10644 00 Accessories Amain Cycling

Garmin Bike Speed Sensor 2 And Cadence Sensor 2 Bundle Bike Bike Trainer Bicycle

Garmin Gsc 10 Speed Cadence Bike Sensor For Sale Online Ebay

Calibrating your power meter.
Garmin gsc 10 wireless speed cadence sensor battery.
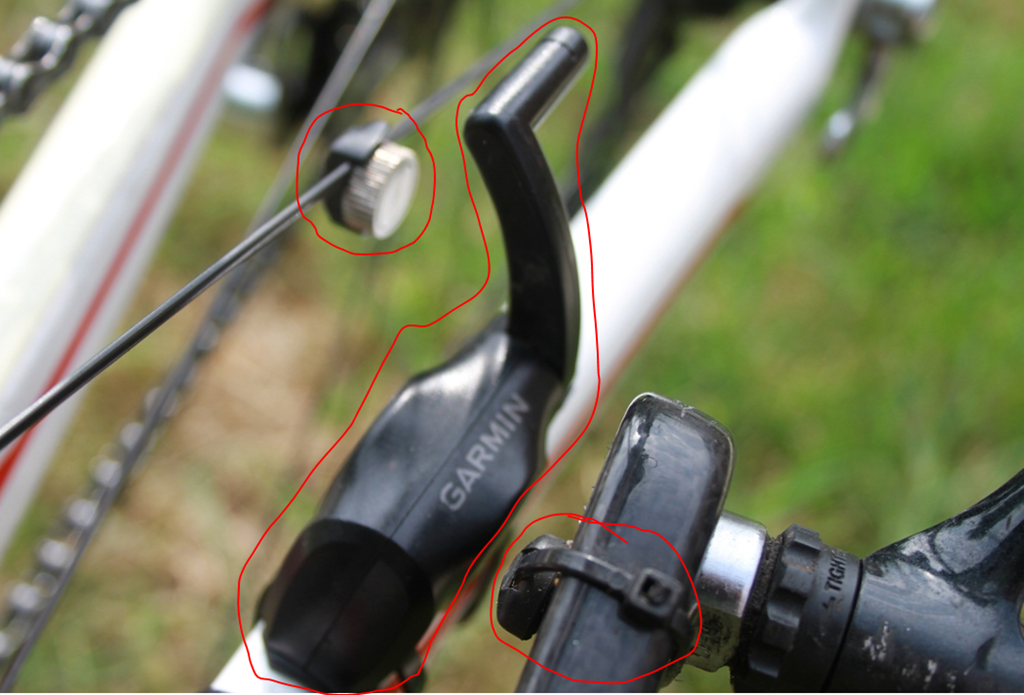
The Ant Bike Speed Cadence Sensor Everything You Ever Wanted To Know Dc Rainmaker
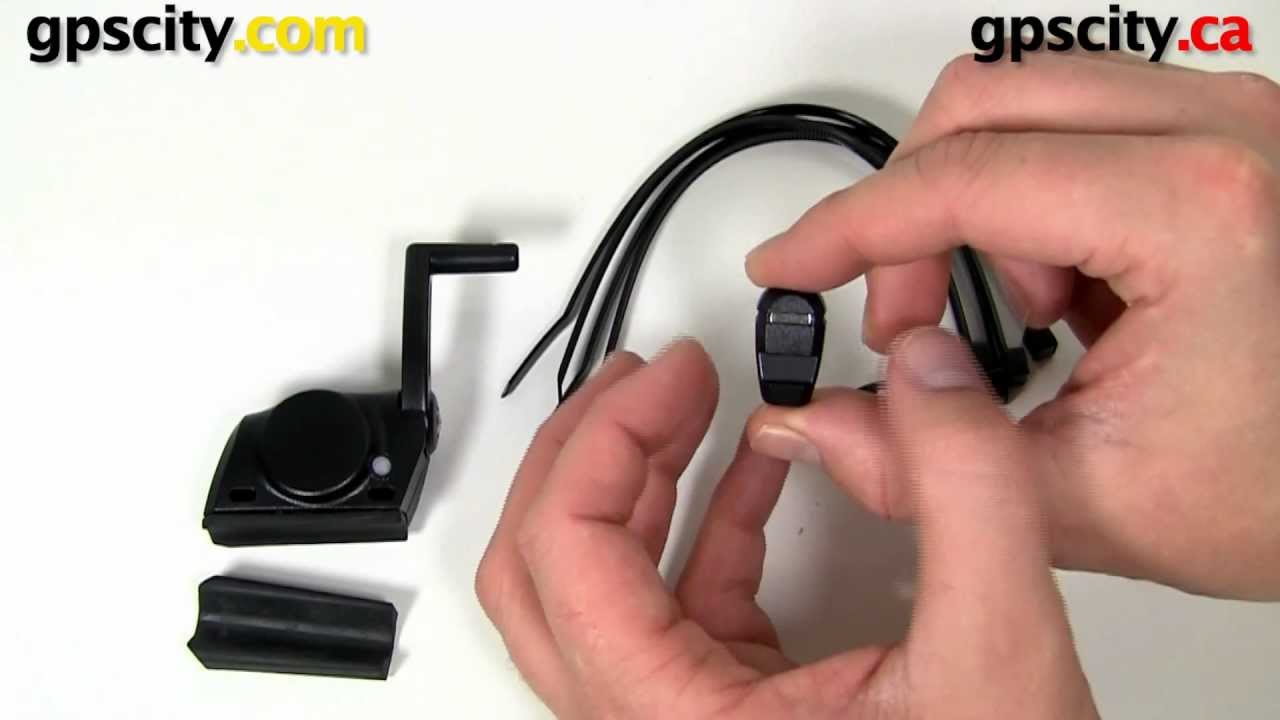
Garmin Speed And Cadence Sensor Overview At Gpscity Com Youtube

Pmd Bat1 Replacement Battery For Alpine Blackbird Ii Blackbird Pmd B100 Pmd B200 Gps Navigators Upstart Battery Br Gps Navigation System Gps Gps Navigation

Speed Sensor And Cadence Sensor Instructions Replacing The Speed Sensor Or Cadence Sensor Battery
Source : pinterest.com
